Sharing fabric cuttings with my worldwide friends

Saturday, February 19, 2011

The First Round Robin


I have had the pleasure and joy of working with a group of friends in making round robin quilts for each other since 1999. When we first started we were a group of six; three members lived in Melbourne, Australia and three lived in the Waikato region of New Zealand. This was where we lived at that time although several of us were not living in our country of birth.

We have worked continuously since then and although our group has had some changes in members three original members have been in all the robins. Each round robin project takes us two years and we get together at the National Quilt Symposium in New Zealand to show and tell and exchange our finished robins and to start on the next one.


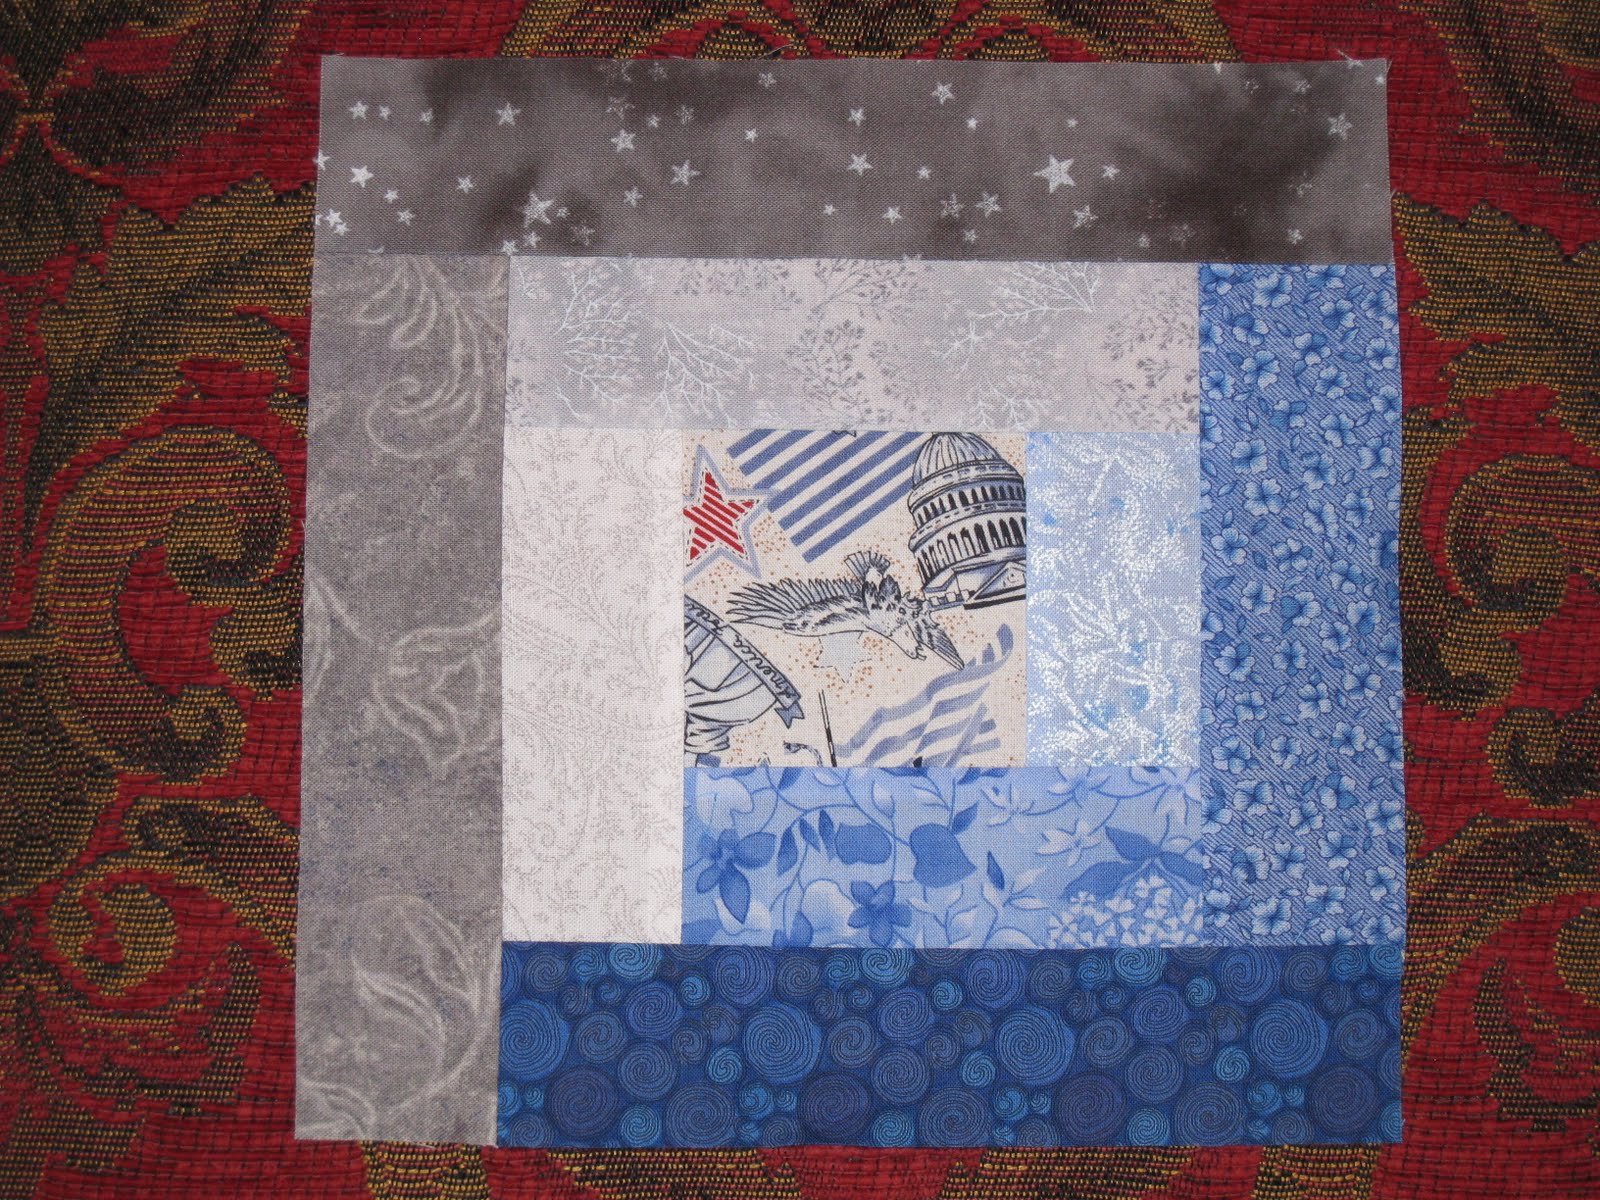
This is what I received at the end of round robin 1. I decided to call my quilt "Trans Tasman Flyer" as it made quite a few trips across the Tasman Sea between Australia and New Zealand while it was under construction.

For this robin we each made our own center and then it left our hands along with, as I recall, two fabrics that we had used in the center so succeeding robins could have some continuity of fabrics. By Robin handover time the quilt went as far as the flying geese border. My sister took it home with her and added the final framing round, which made a huge difference, and then, as a special Christmas gift to me, she had the top quilted, then she bound it and gave it to me.

Round robin number one was made in the traditional method of creating a center and then adding borders.

I found out after the robin that everyone was quite nervous about this one as they knew that I was not really a blue person. But that is one of the benefits of doing these robins. You never know what you are going to end up with and it will very likely be something you had not imagined but it will be a very special quilt. As is this one.

Making round robin quilts forces you out of your own comfort zone; it may make you work with colors you don't usually or challenge you in methods you would really rather avoid. But in the end you have grown as a quilter. The best approach is to do to the quilt what you hope someone is doing to yours and that is putting in their best workmanship .

And, as usual, please understand that my quilting skills are better than my photography skills. The quilt is a perfect rectangle without the bows and waves that appear in the photo I have posted.

Week Eight of the Civil War Blocks


For this week the block is Cotton Boll. The plantations that grew cotton were in the South so following my own rule for fabric choices this needed to be a block made with grey (Confederate)fabrics:


But I wondered if this might be a little, well plain. So a second block was made using my universal background but with blue fabrics as the main features:


My thinking for this quilt was for it to be a scrappy blues and grey one. But at this rate I will be ending up with more than one quilt! This is now the third week when I have made more than one block. With each succeeding week I seem to agonize more over the fabric choices.

Sunday, February 13, 2011

A Collection of Blocks


Several people have been showing a photo of all their Civil War blocks together and I have enjoyed seeing them. At this stage it will also help to get an idea for how my colors are being distributed if I see all the blocks side by side.


I didn't fuss too much with placement (the blocks are not in order of making) and nor is there a rich red paisley to set them off. As you can see that Richmond block stands out a little as being heavy so I need some more like that to balance the weight. You might also wonder how I can have nine blocks in week seven. And that is because I made two North Star blocks in week 2 and now two log cabin blocks in week 7.

They're looking okay don't you think? Certainly they are a collection.

Saturday, February 12, 2011

Week Seven of the Civil War Blocks

For this week, allowing everyone to take a breath and relax, the block is Log Cabin. I thought this one would have no hidden problems and I set off to my Saturday Sewing meeting with my bag full of grey and blue fabrics.

Decisions, decisions, I could not come up with just the one block. So first I made this one because I wanted to follow my personal rule and use the one common background fabric even though this block really has no opportunity to have a background fabric.


And then I made this one because I really liked that fabric with the large paisley that I used last week:


I am trying to keep to the pattern as provided. I cut my strips at the suggested 1 7/8" wide and sewed them up. The size came out pretty much exactly to the 8" finished block.

My friends at the gathering today gave me permission to use that center fabric - we had discussion about whether or not I could use fabric that showed the Statue of Liberty, the Capitol, or even the Stars and Stripes since what the fabric showed was not relevant at the time of the Civil War. But we all decided I could go ahead.

So now I have another extra block. My philosophy is that it may well prove beneficial to have an extra block or two "up my sleeve" when it comes time to set these together. And, since a block a week for a year will yield 52 blocks and a standard setting of 7 blocks wide by 8 blocks long needs 56 blocks I will be needing a few extra anyway.

This project is giving me a lot of enjoyment and I am excited about it. The Saturday postings that Barbara Brackman publishes provide me with an interesting read. Hopefully you too are enjoying following along.

Saturday, February 5, 2011

Week Six of the Civil War blocks


This weeks block is Richmond. Since Richmond became the capitol of the Confederacy I thought I would choose predominantly grey fabrics to make this one.

As with most all of the preceding blocks I have my doubts, now it is made, about my fabric choices. Equally, in common with several of the earlier blocks, there are some fixes required to make this block come out to the required 81/2" unfinished size. As I have already read on the flickr page the dimensions for this would have been a lot easier had the block been a 12" one, but making a nine patch block to a finished 8" size makes the cutting and piecing somewhat of a challenge. If you have not already made this one be warned that the four portions with the four patch on point require some finessing to make this block work.

Then there is also the challenge of taking a nighttime photograph. Flash on or flash off? I took a dozen or more photos thinking one should surely be suitable and when I looked at them on the computer screen some of them would have been suitable except for one of my hairs lying draped across the center of the block. sigh. At least it was color co-ordinated! But I tried again and this version I am posting is without the hair!

The very light small square (which in case you cannot quite see is a grey paisley pattern on a white ground) uses the one fabric that I have chosen to include in every block. Maybe next week that fabric will appear again as the background choice.